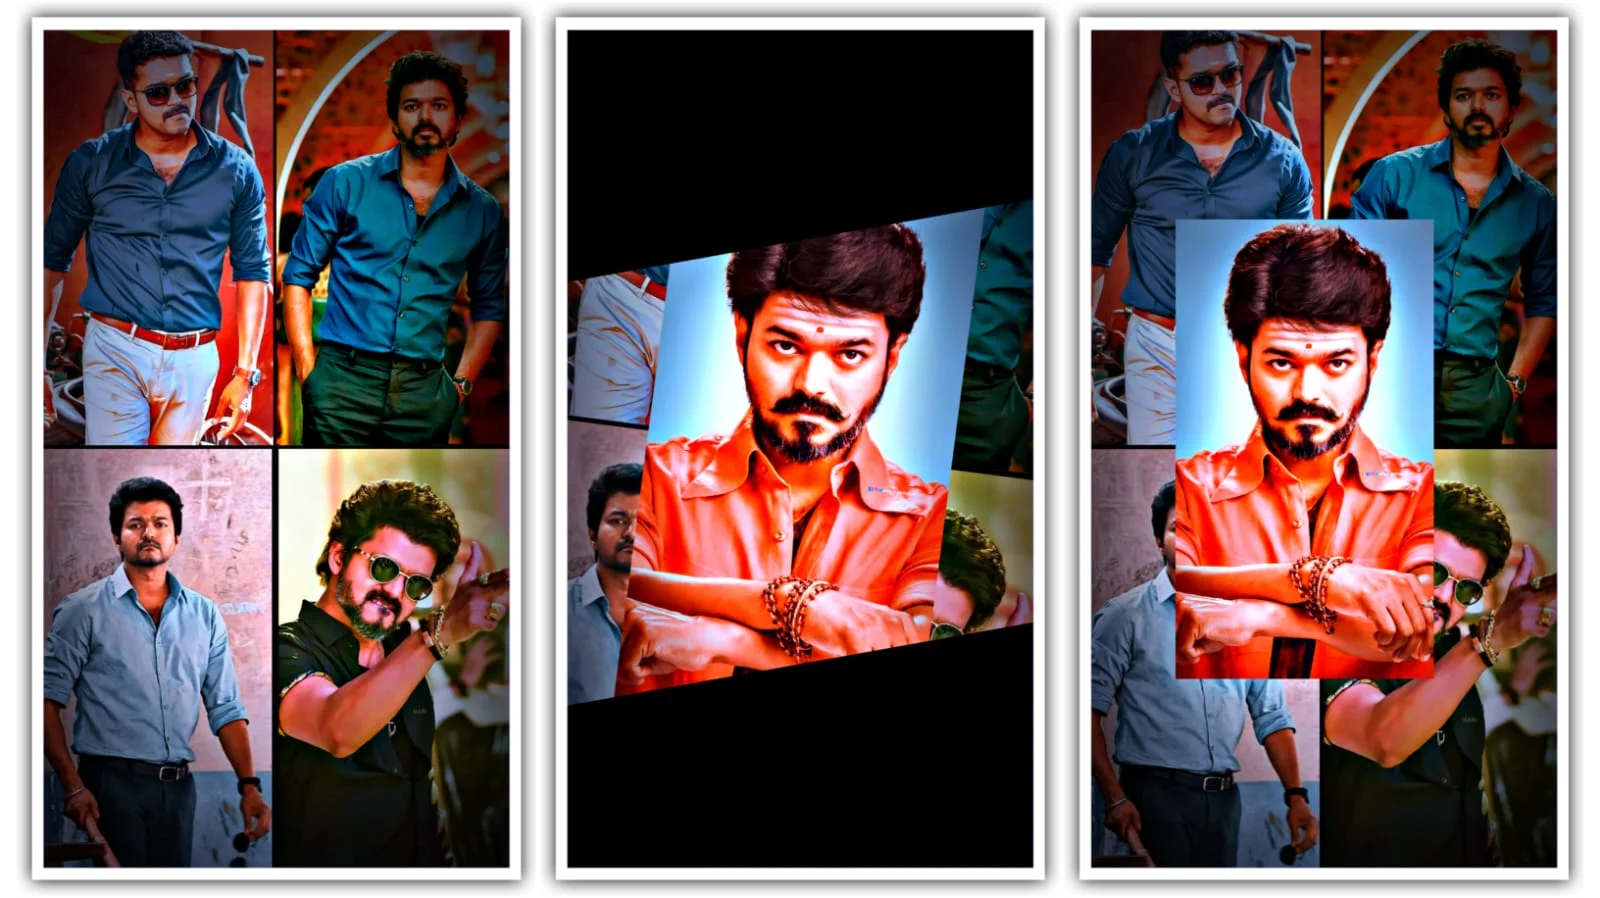
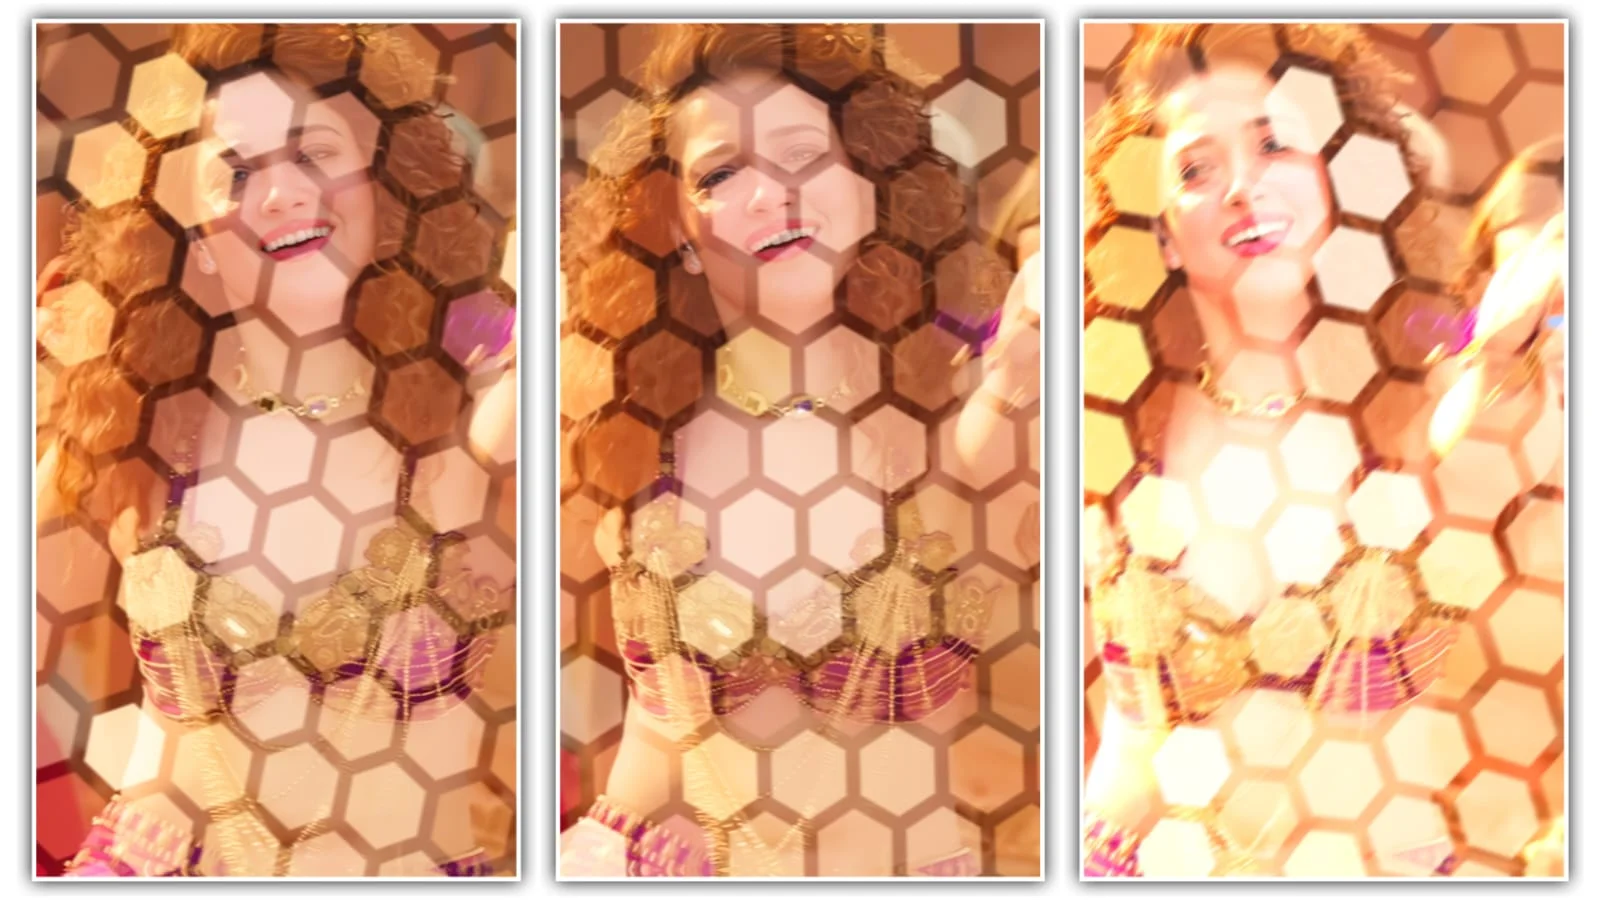
Alight Motion is a mobile video editing and motion graphics app that helps you create smooth animations, stylish edits, and eye-catching social media videos. It works like a pocket-sized creative studio, so you can build polished content without sitting in front of a computer all day.
What Alight Motion Does
Alight Motion lets you combine video, audio, text, shapes, and graphics in one timeline. It supports layered editing, so you can stack elements like blocks in a tower and control each piece separately. That makes it useful for reels, AMVs, promos, intros, and short-form content. The app also includes motion tools, easing options, and effects that help your edits feel smoother and more professional. For beginners, the interface follows a simple flow: add, adjust, animate.
Alight Motion for Beginners
If you are new to editing, Alight Motion can still feel friendly once you learn the basics. You usually start by creating a project, importing media, and placing items on layers before you animate them. Think of it like cooking a meal: first you gather ingredients, then you season them, then you plate the final dish. The app’s beginner tutorials often focus on trimming clips, adding text, moving layers, and using keyframes because those are the core building blocks of most edits. Once you get these parts, the rest starts to feel much easier.
Core Editing Tools
The app includes tools for trimming, splitting, moving, scaling, rotating, and styling layers. You can also add effects, masks, transitions, and text styling to make scenes look more dynamic. Many tutorials highlight keyframes because they let you control movement over time instead of using a flat, static edit. That gives your video a more natural and polished look. Even simple changes like a zoom, spin, or fade can completely change the mood of a clip.
Why Creators Like It
Creators like Alight Motion because it brings advanced editing ideas to a phone screen. You do not need a full desktop setup to make smooth animations or layered visuals. It is especially appealing for social media creators who want fast results with a creative twist. The app also supports reusable styles and custom elements, which saves time when you work on similar projects again and again. In a busy content workflow, that kind of speed feels like a shortcut through traffic.
Effects and Motion
Alight Motion stands out for its motion tools and visual effects. You can apply easing curves to make movement feel softer, sharper, or more cinematic. You can also work with blur, lighting, distortion, color, and opacity controls to shape the final look. These tools matter because they help a clip tell a story, not just show a sequence. A plain edit becomes much more exciting when the motion has rhythm and purpose.
Export Options
When your project is ready, you can export it in several formats. Available export choices include MP4, GIF, PNG sequence, and still image outputs. That flexibility helps when you want to post on different platforms or reuse assets in other designs. Some tutorials also show video export settings like FHD for better quality. In other words, the app gives you room to create both casual and polished content.
How To Learn Faster
The fastest way to learn Alight Motion is to practice one feature at a time. Start with layers, then move to keyframes, then try effects and masking. This approach works better than trying to master everything in one day. Tutorials for beginners often follow this same ladder because it builds confidence step by step. If you rush, the app can feel overwhelming, but if you learn in small bites, it becomes manageable.
Best Beginner Practice
A good first project is a short intro or a simple animated text clip. Import one image or video, add text, then animate the position or size across a few keyframes. After that, try a transition or a soft effect to see how the mood changes. This kind of practice gives you quick wins and teaches the app’s logic at the same time. Small experiments like this are the safest way to grow fast.
Common Mistakes
Many beginners overload their projects with too many effects. That can make the video look messy instead of stylish. Another common mistake is skipping keyframes and expecting smooth movement without setting timing properly. You should also keep an eye on export settings so quality does not drop at the final step. Clean editing usually beats crowded editing, especially on mobile screens.